
 Hello, lovely readers! Christmas is coming soon and I hope you are already feeling christmassy! Today I'll show you how to create these lovely "trees and hearts" gift tags. I already made a bunch of them for last Christmas. I love gift wrapping in discreet natural colors with a pop of bright red here and there. I often use simple brown wrapping paper, music paper or even newspapers for gift wrapping and add a bright red bow. Simple and beautiful. And these gift tags are just the perfect finish! And they are really simple!
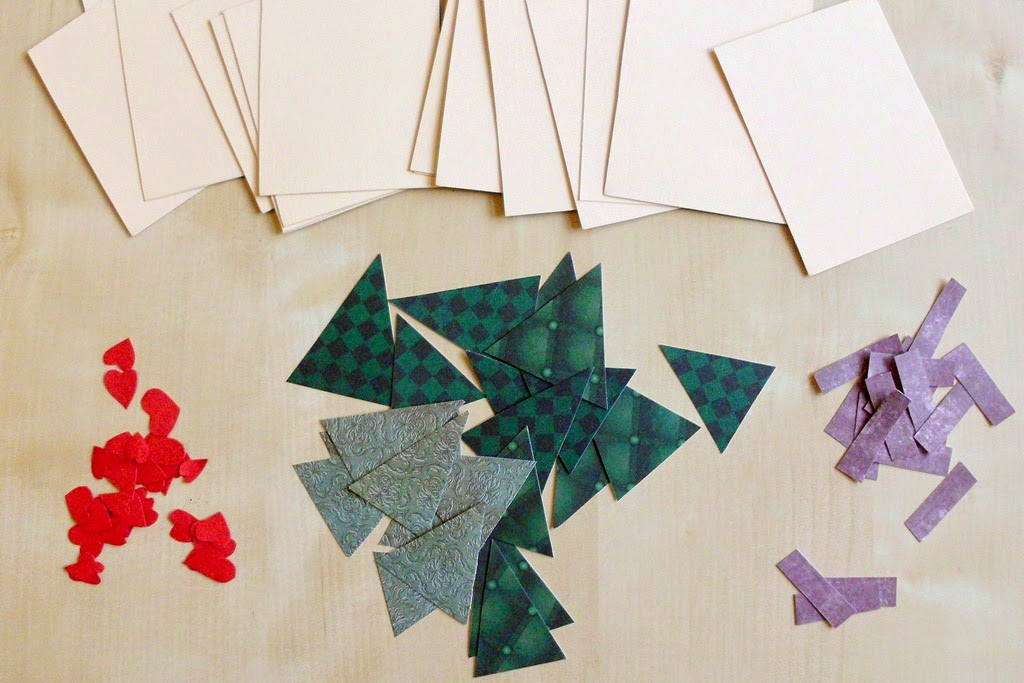
Supplies: a
large piece of light beige and a smaller piece of red craft paper,
scrapbook paper in three or more different dark greens, brown scrapbook
paper, paper glue, scissors, red yarn and a sewing machine, raffia
ribbon and a hole punch.
 [1] Put half of the beige cards to the side, they will be the back sides. Glue one or two stems onto each remaining card.
[2] Now add tree tops. Be creative and design lovely little trees.
[3] Add hearts! This is the best part. Embellish every tag with lots of tiny hearts, but don't use them all up! Leave one per gift tag to embellish the back pieces.
[4] Glue one tiny heart to the lower right corner of every back piece.
[5] Get out your sewing machine! Even if you've never used a sewing machine before, you can do it! Sewing on paper is probably even easier because the paper won't ruffle or curl while sewing. Sew a frame around the motif with a simple straight stitch. Don't be afraid to sew over the trees or hearts, it will look great. Trust me.
[6] Now the two pieces for the gift tag are ready.
 [7] Gather the two pieces and punch a hole through both. Remember not to punch through the seam.
[8] Add a hanging. I took some natural looking Raffia ribbon. Push a loop of ribbon through the hole from below and pull the rest of the ribbon through the loop.
[9] Do this for all the gift tags and you're done and ready to decorate your gifts with these adorable gift tags!
 Enjoy decorating for Christmas!
I love these! Great idea.
AntwortenLöschen